Modular Origami Polyhedra


The original version of this activity was written by Jenny Piggott in 2009. The paper-folding that Jenny describes featured in July 2010 at her own retirement event. Fran Watson introduced it to us on that day and below you can listen to Fran explaining why she chose this particular activity.
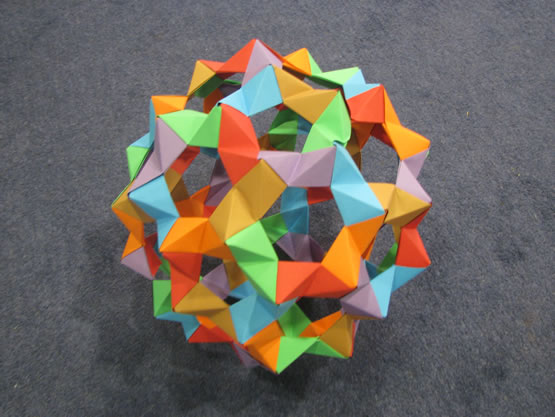
Some plaited polyhedral models appeared in and around the Centre for Mathematical Science here in Cambridge, where NRICH is based.
I was intrigued by the way they were made and have taken some time to work out what the individual units are that go to make up these models.
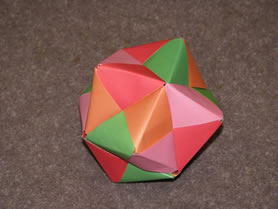
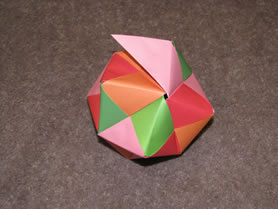
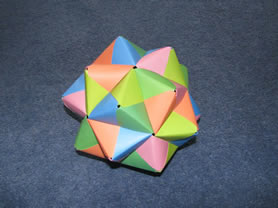
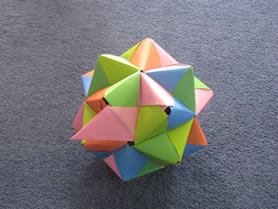
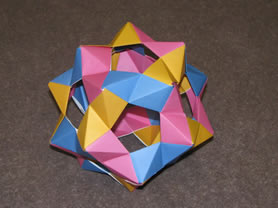
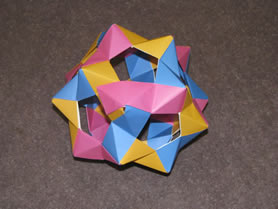
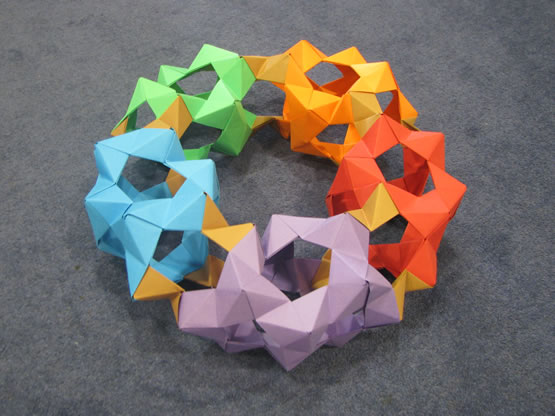
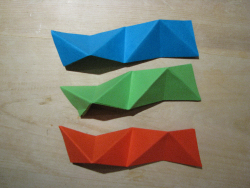
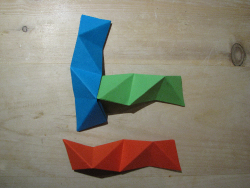
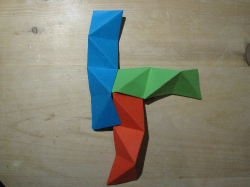
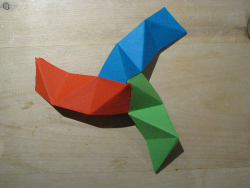
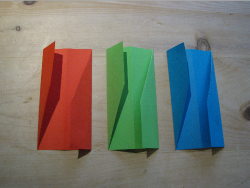
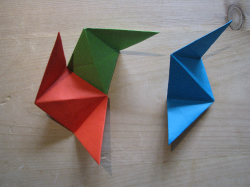
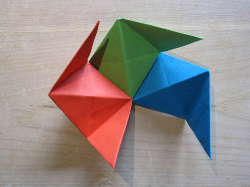
Here are some pictures of the models. With the first few I have included one image with the basic unit partially visible so you can get a feel for how the model was put together. At the end of this article I have included images showing how to make the two basic units that you plait together to make up these models.
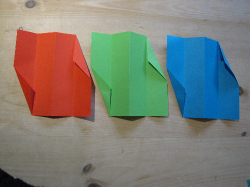
How to fold the basic units that make up the polyhedra:
First Unit
To make a vertex of a polyhedron you need three units:
 |
 |
|
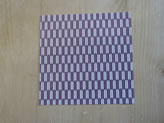
Three squares folded longways into four making mountains and valleys. |
Fold each strip in half, then in quarters folding into the centre. |
 |
 |
|
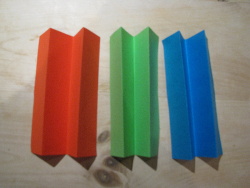
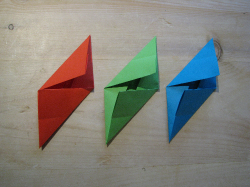
Fold each strip along the diagonals of each square as shown. Now you are ready to start assembling. |
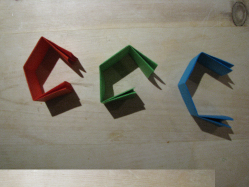
Treat the two end triangles (or square) as a flap. A flap on one strip is pushed into the second square (between the layers) of another strip so that the valleys and folds coincide. |
 |
 |
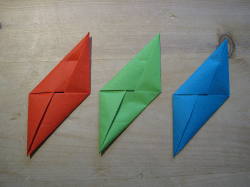
| Now put the flap of a third strip between the layers of the second square on the second strip. | And finally, complete the corner by inserting the flap of the first strip into the second square of the third strip. |
Second Unit
The second unit forms the basis of some of the above polyhedra. Further details of how to make each unit can be found in this Word document. See also the video clips at the foot of this page.
As with the first unit, you need three units to make a vertex of a polyhedron:
 |
 |
| Three squares double-folded longways with opposite corners folded and folded again. | Outside strips folded into the centre. |
 |
 |
| Opposite corners are then folded to the centre line. | Tuck each flap into the pockets formed from the intial double-folds. |
 |
 |
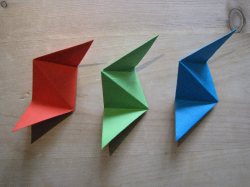
| Turn each unit over and fold to form four triangles. | Each of the end triangles of a unit is a flap. All four triangles have pockets to help with linking units together. |
 |
 |
| Join three pieces by slotting a flap into the pocket behind a middle triangle of another unit. | Finally, join the spare flap on the third unit to the first unit to form a vertex. |
Below you can watch three videos. The first shows you how to make the first basic unit; the second demonstrates putting units together and the third is a speeded-up clip of the making of an entire polyhedron.
Related Collections
You may also like
Proximity
We are given a regular icosahedron having three red vertices. Show that it has a vertex that has at least two red neighbours.
Platonic Planet
Glarsynost lives on a planet whose shape is that of a perfect regular dodecahedron. Can you describe the shortest journey she can make to ensure that she will see every part of the planet?